This is the first league game to determine the fate of planet Maarkus IV! Both the Blood Angels and the Space Wolves are laying claim to the glory of bringing the planet back into the Imperial fold, but only one can win.
The Battlefield
The Armies
DEATH COMPANY [300]
Chaplain, 4 Assault Death Company Units
ASSAULT DETACHMENT [300]
6 Assault Units, Chaplain
ASSAULT DETACHMENT [300]
6 Assault Units, Captain
PREDATORS [300]
4 Baal Predator
DEVASTATOR DETACHMENT [350]
4 Devastators, Blood Angels TL Lascannon Razorback, Blood Angels Hunter
Rhinos
DEVASTATOR DETACHMENT [350]
4 Devastators, Blood Angels Hunter, Blood Angels TL Lascannon Razorback
Rhinos
TACTICAL DETACHMENT [475]
6 Tacticals, Supreme Commander, Land Raider, Blood Angels TL Heavy Bolter Razorback
Rhinos
TACTICAL DETACHMENT [275]
6 Tacticals
Rhinos
LAND SPEEDERS [200]
5 Land Speeder
SCOUT DETACHMENT [150]
4 Scouts
Rhinos
(I forgot to include the Land Speeders in the picture)
The Space Wolves
GREAT COMPANY [425]
6 Grey Hunters, Battle Leader, 2 Long Fangs
GREAT COMPANY [575]
6 Grey Hunters, Battle Leader, 2 Long Fangs, 2 Land Raider
LAND SPEEDERS [200]
5 Land Speeder
THUNDERBOLT SQUADRON [175]
2 Thunderbolt Fighter-Bombers
WHIRLWINDS [300]
4 Whirlwinds
REAVER CLASS TITAN [650]
PREDATORS [250]
4 Predator Destructor
STRIKE CRUISER [200]
Space Wolves Strike Cruiser
(Something like this – I am missing a few units, but this was the gist of the list)
Deployment
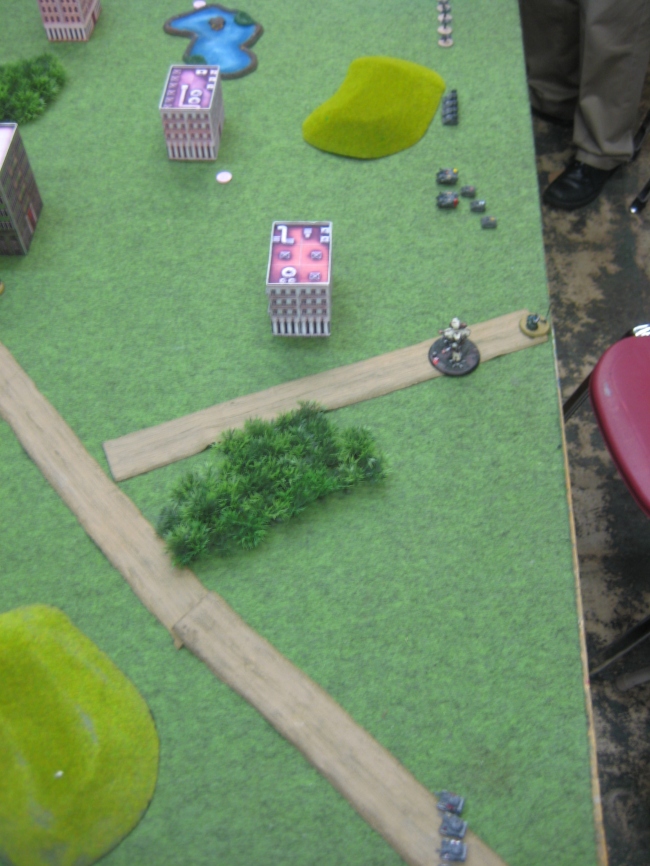
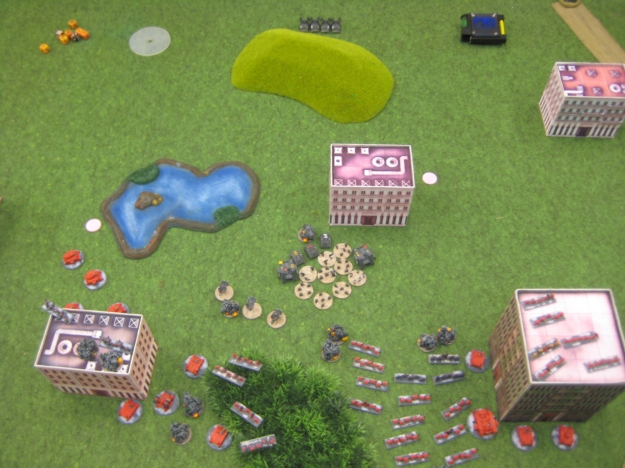
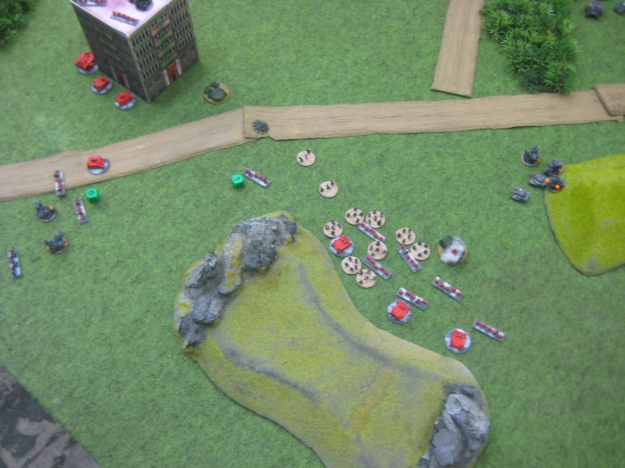
The Blood Angels set up across the entirety of the board with Baal Predators and Scouts on the left flank, Two Devastator formations, Two Assault Formations, the Death Company, and the Command Tactical Squad in the center, and a Tactical formation and Land Speeders anchoring the right flank.
The Space Wolves set up with their Reaver Titan in the center, Annihilator Predators on their left flank, Land Speeders on the right, and Command Great Company holding down the center. Another Great Company waits in orbit on the Strike Cruiser, which will arrive Turn 3.
The Armies Face Off
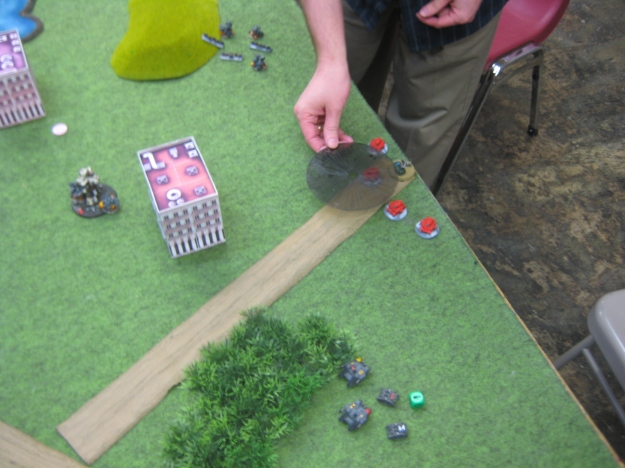
Here you can see the two Blood Angel objectives to the right, and the Space Wolf objectives toward the left, represented by pink chips.
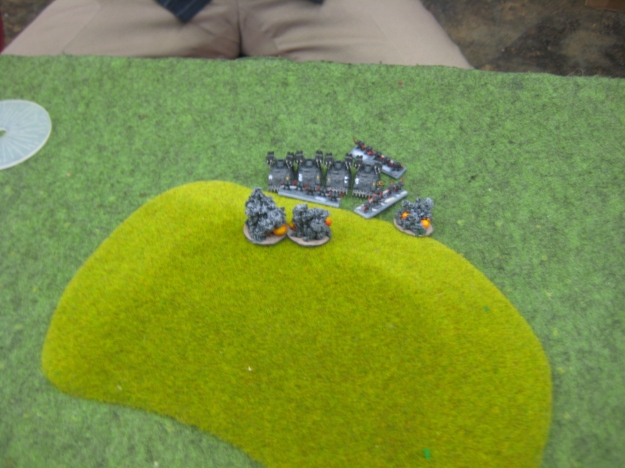
The Blood Angels win the initiative roll and elect to move the Scouts into position, setting up a screen across the left flank
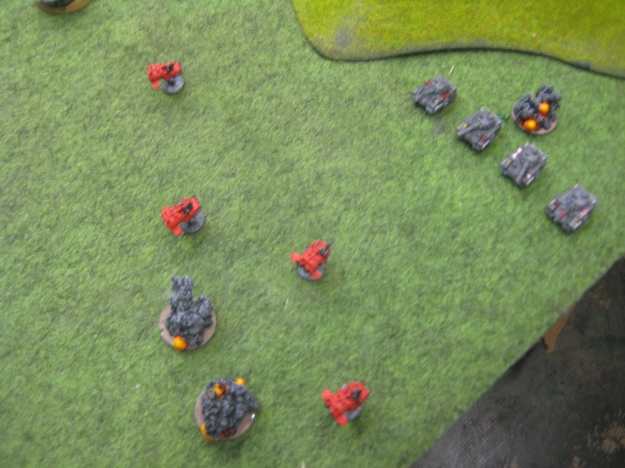
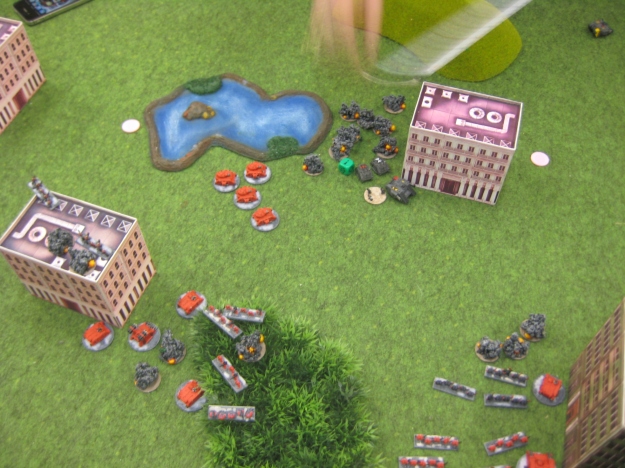
The Space Wolves double with their Predators, open fire on the Blood Angel Land Speeders and kill one
The Land Speeders quickly retaliate, but fail to hit
The Space Wolf Titan doubles to the center of the battlefield and opens fire on a Blood Angel Devastator formation
The Titans weapons are devastating, destroying two Rhinos, a Hunter, and a stand of Marines
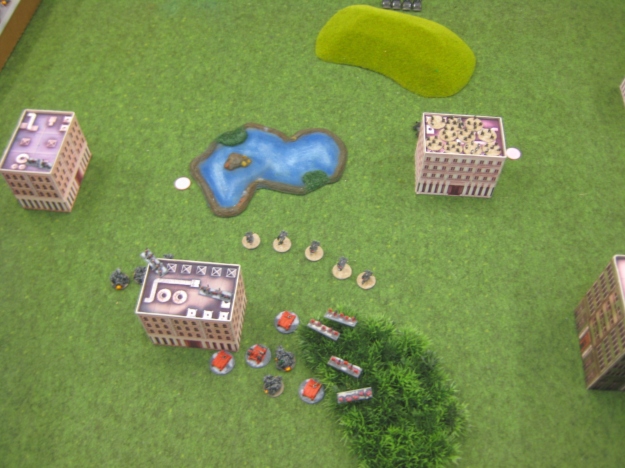
The Space Wolves Command Great Company doubles into cover and opens fire on the scouts, killing a Rhino and a stand of men
The Blood Angels advance a Devastator formation and open fire on the Space Wolves in the building, but fail to do any damage
Space Wolf Land Speeders double into firing position and attack the Blood Angels Devastators, killing a Rhino
Baal Predators retaliate, doubling into firing position and killing two Space Wolf Speeders
The Blood Angel Command Tactical formation advances into cover and opens fire at the Space Wolves in the building, failing to do damage. The center of the battlefield is getting very hot. The Space Wolf whirlwinds open fire (on what, I forgot), but fail to damage.
The Space Wolves are out of activations. Two Assault formations and the Death Company double into assault positions with impunity. It’s a bold move – the Blood Angels are banking on winning the initiative roll for Turn 2.
TURN 2
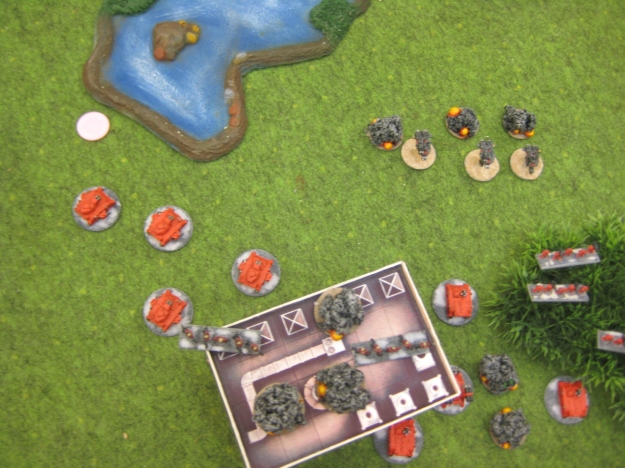
Foolish mistake. The roll is a tie, and since the Blood Angels won the roll last turn, the Space Wolves win the roll this turn. The whirlwind immediately opens fire on the two Assault Formations and the Death Company. The Great Company in the building retains, declaring an assault on one of the Blood Angel assault formations
The assault is furious. The Space Wolves wipe out five stands of Blood Angels and only lose one in return. The broken Blood Angel formation was the one containing the Captain. Blood Angel dreams of calling a combined assault are crushed then and there.
The Blood Angels commander is able to think clearly enough to prioritize his moves in spite of thirsting for vengeance, and sends the Land Speeders against the Reaver Titan, damaging some shields. Devastators advance as well, and drop more shields.
All Weapons are hot on the Space Wolf Command formation, but it proves surprisingly resilient.
Space Wolf Land Speeders make a daring move behind enemy lines, shooting at a Blood Angel assault formation but failing to hit.
Space Wolf Predators declare a Titan supported assault against the Blood Angel Landspeeders and wipe them out.
Baal Predators advance and open fire on the Space Wolves Command Company, causing heavy casualties and breaking the formation. The Space Wolves flee.
Thunderbolts fly in to harass Blood Angel Devastators
The other Blood Angels Devastator formation doubles over to get within 30cm of the broken Space Wolf formation and also to lay down fire on the Reaver
The Reaver retaliates, causing horrendous casualties and breaking the formation. The Devastators flee.
The Death Company marches to get within assault range next turn and to stay within 30cm of the broken Space Wolf formation
A six-strong Blood Angel assault formation led by a Chaplain assaults three Space Wolf Landspeeders and lose the assault! They are broken and flee.

The Scouts looking to the skies to see the approaching Space Wolf Strike Cruiser, spread out to restrict the drop zone the best they can.
TURN 3
The Blood Angels win the initiative roll. During the rally phase, the broken Space Wolves command formation fails to rally due to the presence of the Death Company.
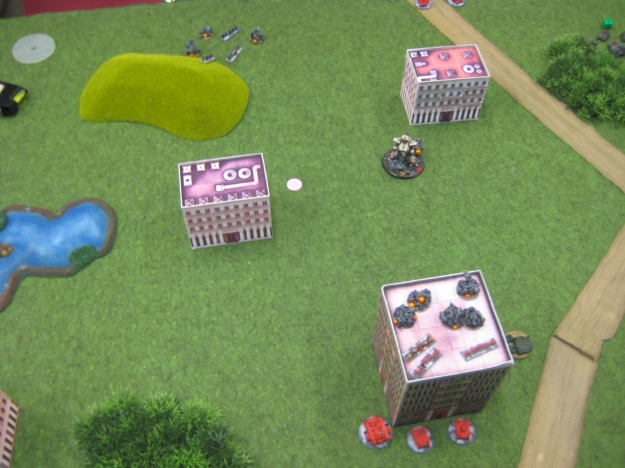
The Death Company charges the Space Wolf Whirlwinds, completely wiping them out. The Blood Angels retain and open fire on the Space Wolf Land Speeders behind their lines, wiping them out and destroying hopes of a last ditch objective grab.
The Blood Angels rush the Space Wolves Blitz objective with the Baal Predators
Space Wolf Predators fire ineffectively (not pictured), and Blood Angels scouts spread out over their Blitz objective to prevent the drop pod assault.
Thunderbolts fly in to finish off the broken Devastator formation, but fail to damage it
The Assault formation that lost the assault to the Land Speeders in the previous turn rally during the recovery phase, and double to sit on top of a Space Wolf objective. The Blood Angels now have Take and Hold, Blitz, and They Shall Not Pass.
The Reaver TItan opens fire into the Blood Angel Command formation, doing tremendous damage.
The other Blood Angel tactical formation advances to an objective and open fire on the Space Wolf Annihilators, failing to hit. But the Blood Angels now have Take and Hold, Blitz, Defend the Flag, and They Shall Not Pass.
The Space Wolf Strike Cruiser activates, dropping its barrage on the Space Wolf Blitz objective occupied by the Baal Predators. Unfortunately, the blast does no damage.
The Space Wolves rain from the skies in their Drop Pods and assault the Blood Angel Tactical formation, nearly wiping it out. But it is too little, too late. The Blood Angels have the Blitz and Take and Hold objectives, and the Space Wolves have no more activations with which to contest. Blood Angels win 2 – 0.
Final Thoughts:
This was a bloody and hard fought battle. Writing this battle report, I realize it may have looked a little one-sided in turn three, but it really felt a lot closer than that. A couple of different moves, a couple different dice rolls in either direction, and it could have been a Space Wolf victory. I think the Space Wolf player made a mistake in not sending the Reaver after the Baals on the Blitz in turn 3. Had the game gone on to turn 4, I am not sure I could have held on. I really had no answer for the Reaver.
I looked at the Space Wolf list before going into the match, and it occurred to me that there is a lot of rope to hang yourself with in terms of taking big, expensive formations. I wanted to capitalize on this by keeping my activation count very high. This worked to my advantage throughout the course of the game.
I considered taking some drop pods and Thunderhawks, but these were big investments that I could put towards more activations, so I made the decision to forgo them.
The Baal Predators performed much better than I anticipated. I felt that 300 points might be pricey for them, but for the amount of devastation that they lay down at close range, it seems fair. Don’t get within 15cm of those things.
Super fun game, and thanks to my opponent for putting up a hard fight.


