
This is game 7 of the the Los Angeles Epic league, and this one is a real grudge match. My opponent this time is Volrath with his Iron Warriors, the last time we faced off, in a friendly non-league match, he was able to table my Blood Angels. As the Blood Angels army champion, I’ve tweaked the list a bit, and this time I’m out for revenge! Let’s see how it goes.
The Lists –
BLOOD ANGELS
DEATH COMPANY [300]
Chaplain, 4 Assault Death Company Units
DEVASTATOR DETACHMENT [250]
4 Devastators
THUNDERHAWK [200]
PREDATORS [275]
4 Baal Predator
PREDATORS [275]
4 Predator Annihilator
TACTICAL DETACHMENT [450]
6 Tacticals, Supreme Commander, Land Raider
ASSAULT DETACHMENT [375]
6 Assault Units, 2 Assault Units, Chaplain
THUNDERHAWK [200]
DEVASTATOR DETACHMENT [275]
4 Devastators, Blood Angels TL Lascannon Razorback
LAND SPEEDERS [200]
5 Land Speeder
BIKE DETACHMENT [200]
4 Blood Angels Bike, Attack Bike
IRON WARRIORS
IRON WARRIORS COMPANY [400]
6 Chaos Space Marines and 2 Havocs, Stalker, Warsmith (Supreme Commander)
IRON WARRIORS COMPANY [350]
6 Chaos Space Marines and 2 Havocs, Iron Warriors Lord, Stalker
IRON WARRIOR TERMINATORS [275]
Iron Warriors Lord, 4 Iron Warrior Terminator
DEFILER ASSAULT PACK [400]
6 Defilers
ARMOURED COMPANY [200]
4 Chaos Predator
ARMOURED COMPANY [250]
5 Chaos Predator
SUPER HEAVY COMPANY – DECIMATOR [225]
Decimator
SUPER HEAVY COMPANY – DECIMATOR [225]
Decimator
RAVAGER TITAN [650]
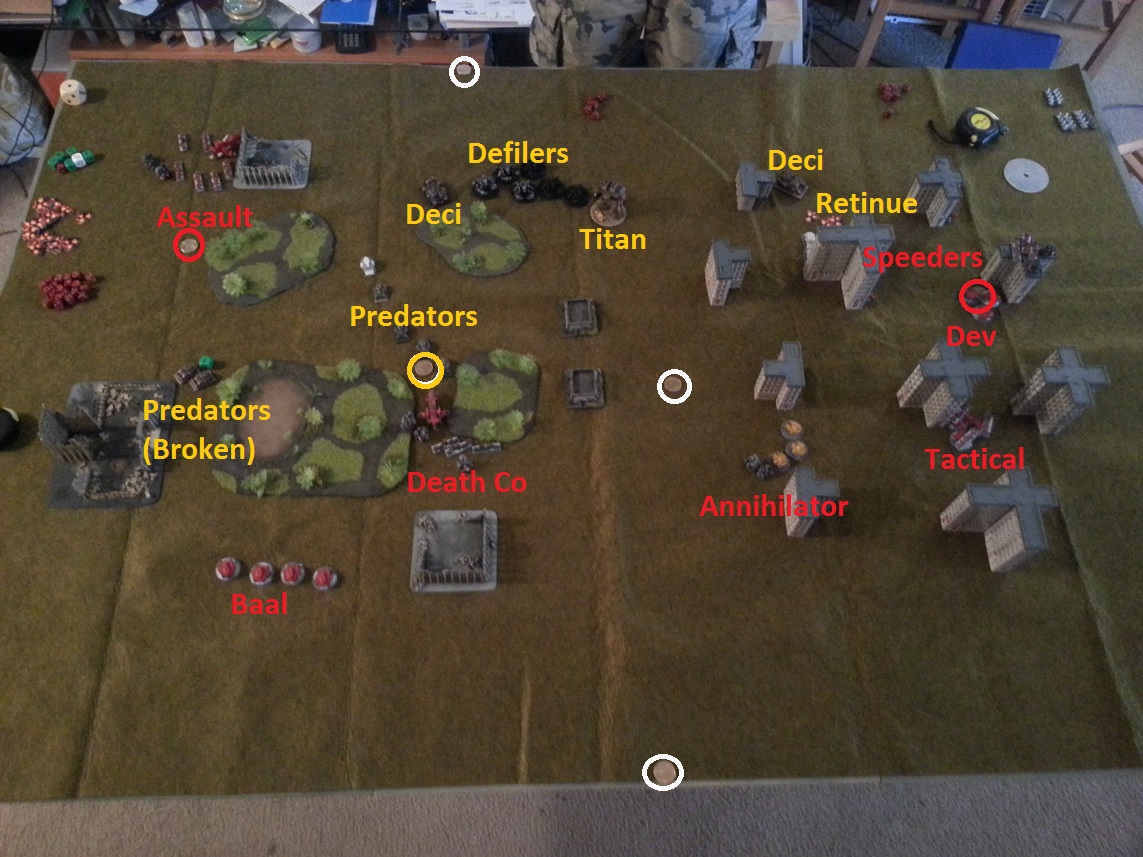
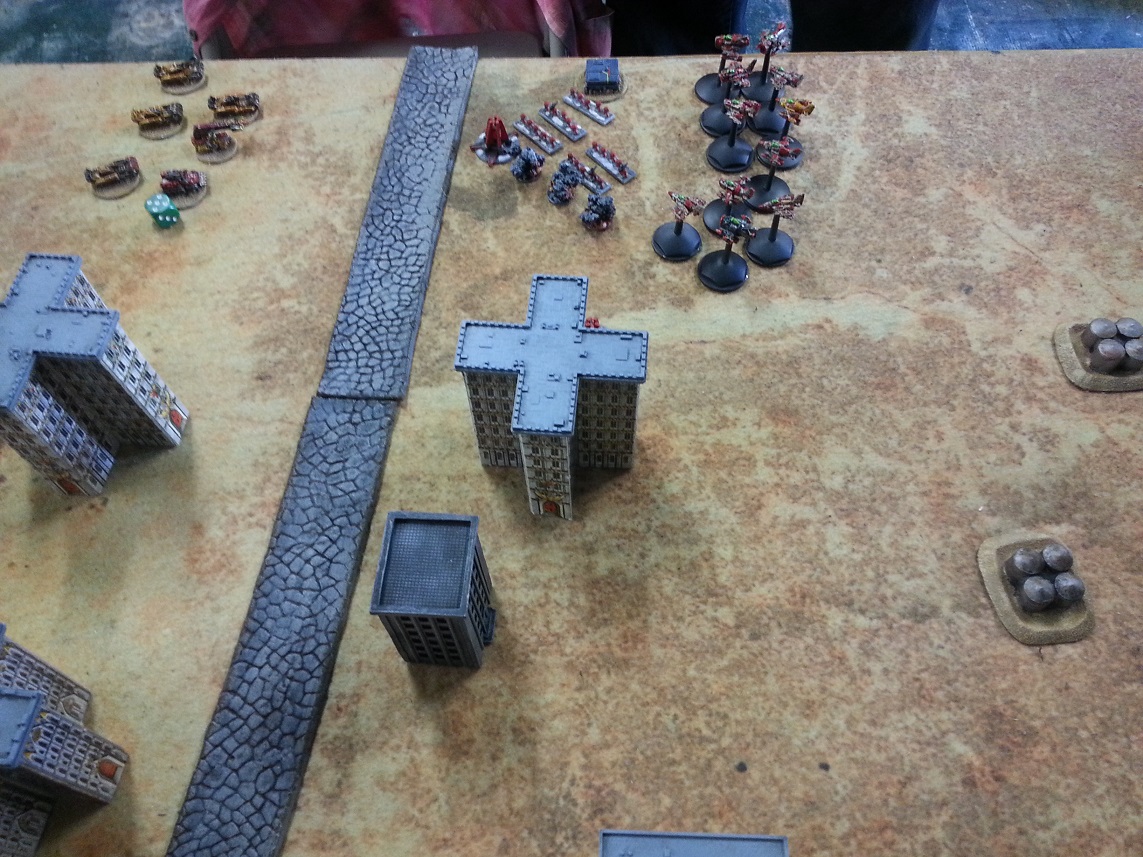
The forces face off

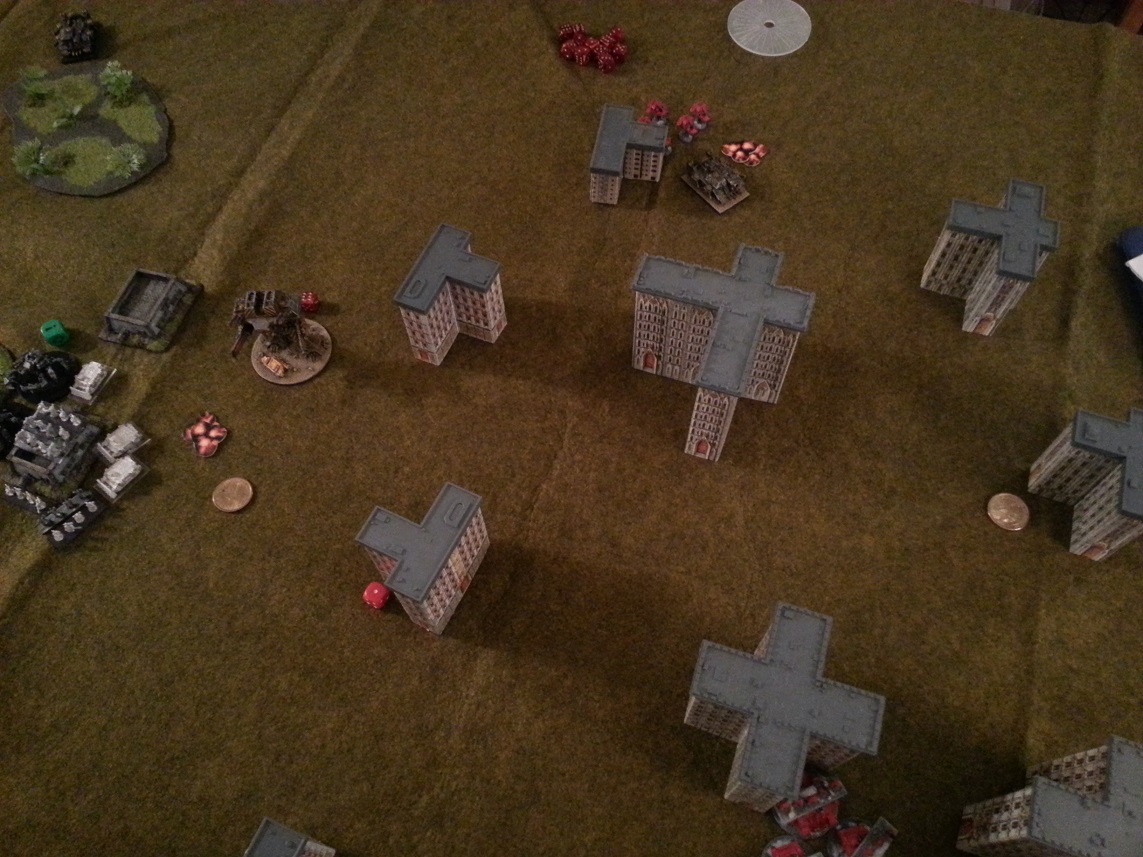
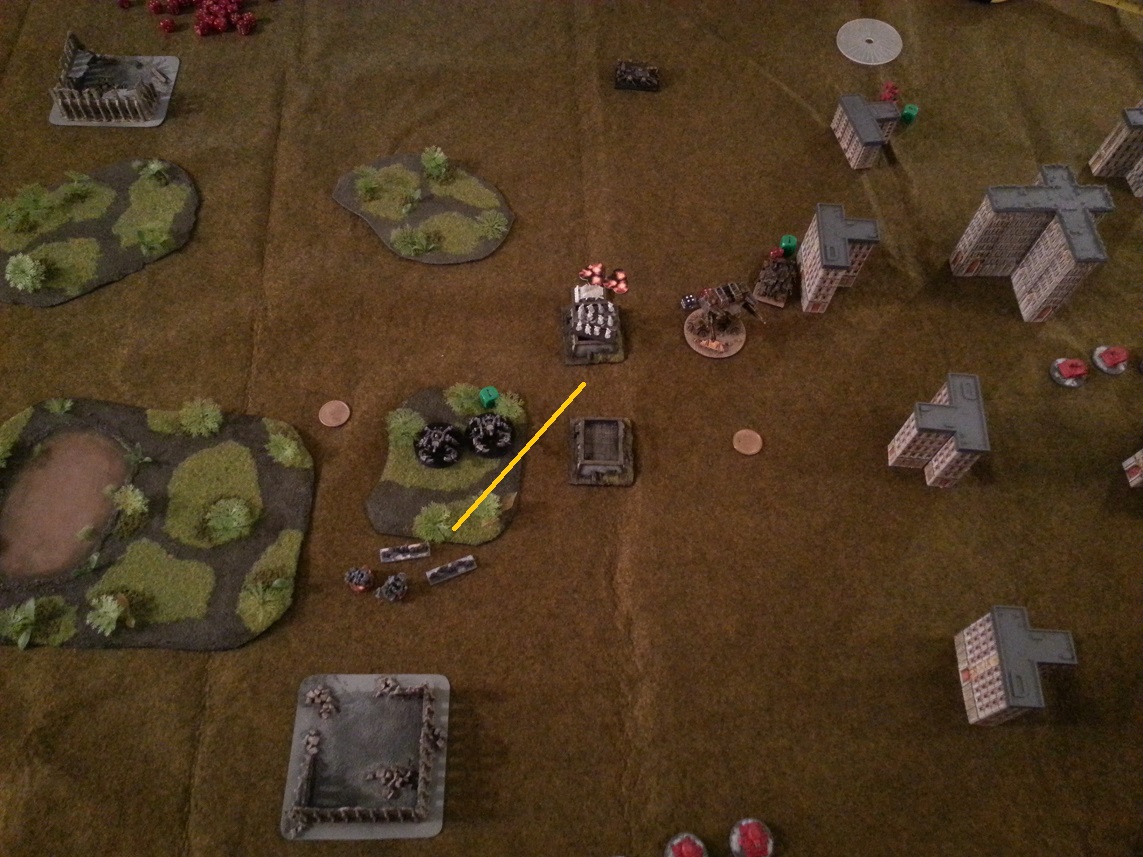
Blood Angels win the initiative roll and force the Iron Warriors to go first. A CSM Retinue advances behind cover.

Blood Angel Land Speeders Zoom across to the other side of the table and take cover. The deployment of my bikes and speeders here was mainly a feint to get the IW to divert resources to the left flank – my plan was to make my primary push through the city on the right flank and apply unequal force to collapse his battle line.

The second Iron Warrior Retinue advances forward on top of a Blood Angel objective.

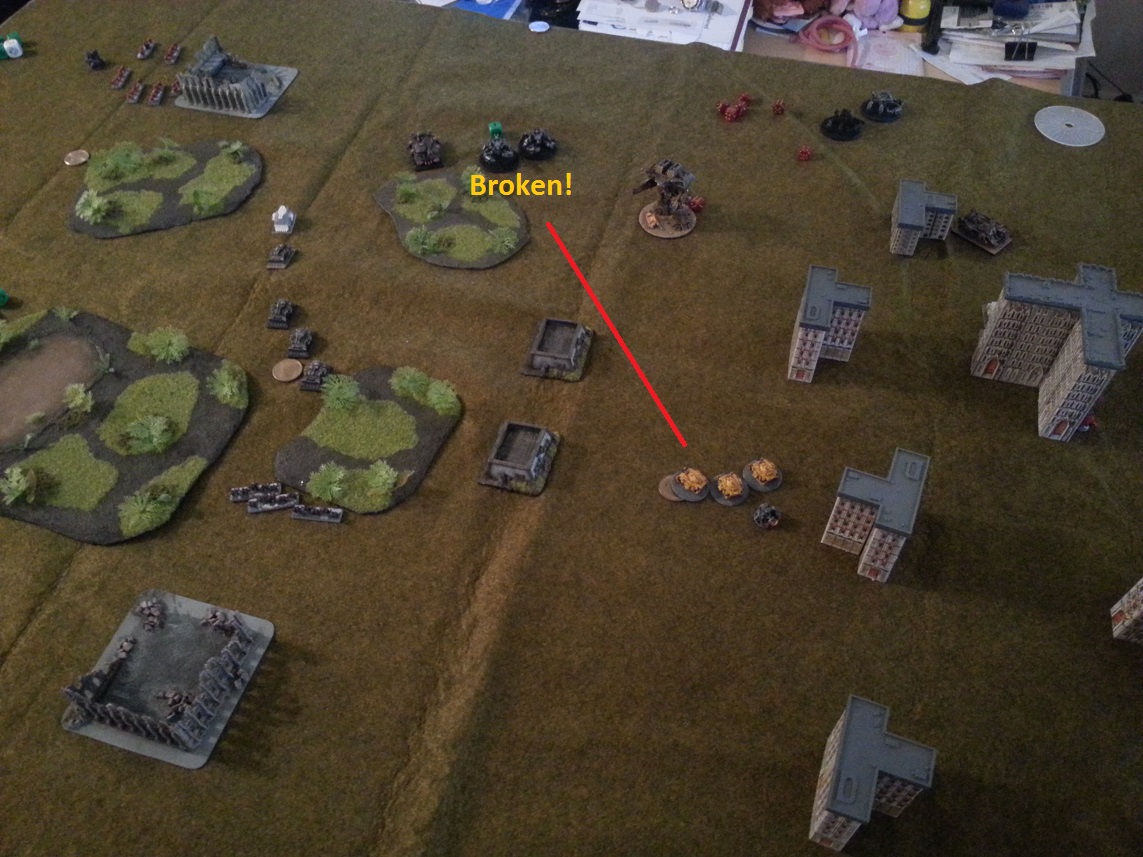
Volrath has a tendency to play very aggressively with his Iron Warriors, which often works very well for him, but sometimes it leaves individual units exposed and unsupported. Knowing how tenaciously CSM Retinues can cling to objectives throughout matches, I jumped on this opportunity to destroy one. The bikes lay down a blastmarker.

And then I retain the initiative to call in a Thunderhawk Assault with the Death Company

With support fire from the Bikes, the Blood Angels are able to break the CSM Retinue.

Iron Warrior retribution is swift and violent. A Decimator entirely wipes out the formation of Blood Angel Bikes.

The Iron Warriors retain and Predators advance to fire on the Devastator squad, causing no casualties.
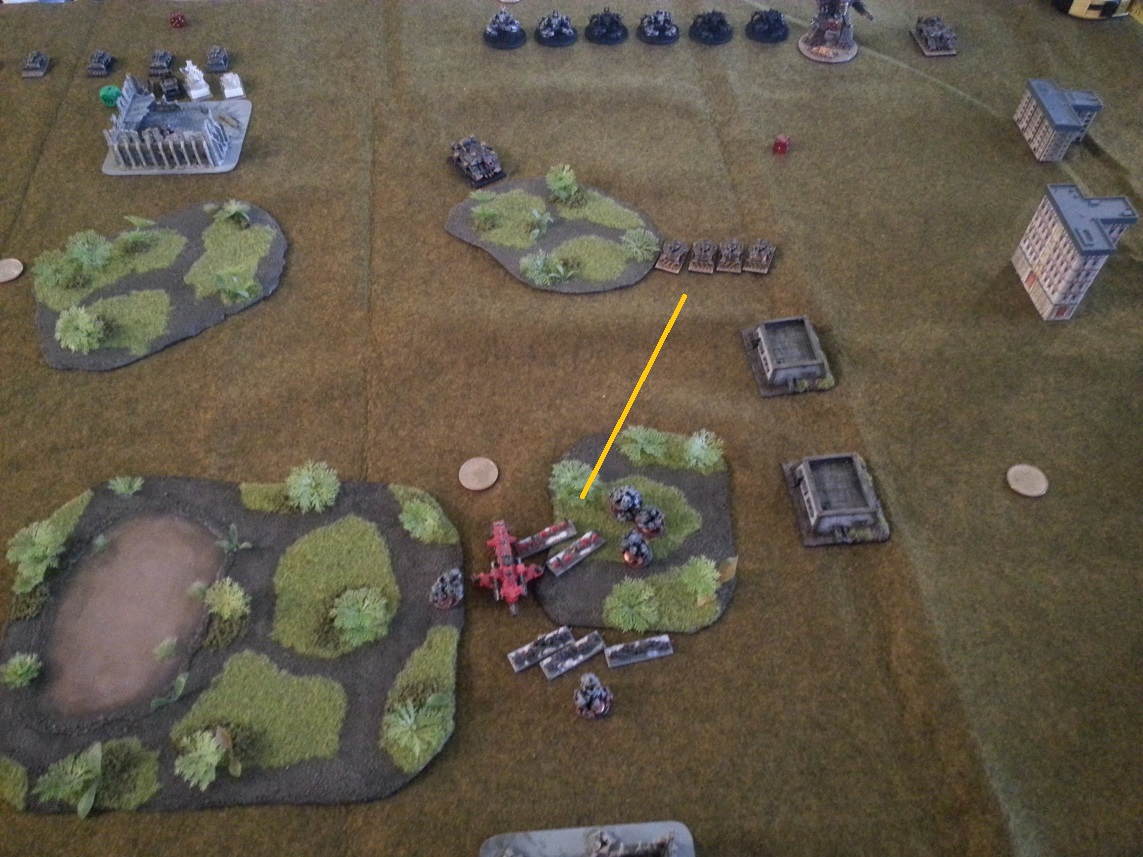
The Blood Angel Tactical formation with Supreme Commander advances into the city, being very careful to take advantage of cover.

The Iron Warrior Ravager Titan advances and destroys the Devastator Squad.

Iron Warriors retain the initiative and advances Predators, which then fire on the Thunderhawk, causing no damage.

Blood Angel Predator Annihilators advance and break an Iron Warrior Predator formation – my goal was to start breaking and destroying his smaller formations to cut into his activation count.

The Defilers advance and open fire with their battle cannons, but only kill one Predator.
Blood Angel Predators advance into cover and unload on the CSM Retinue hiding behind a building, needing sixes to hit and causing an unbelievable four casualties and nearly breaking the formation.

A Decimator lumbers forward and unloads on the Devastator formation, but only kills one stand.
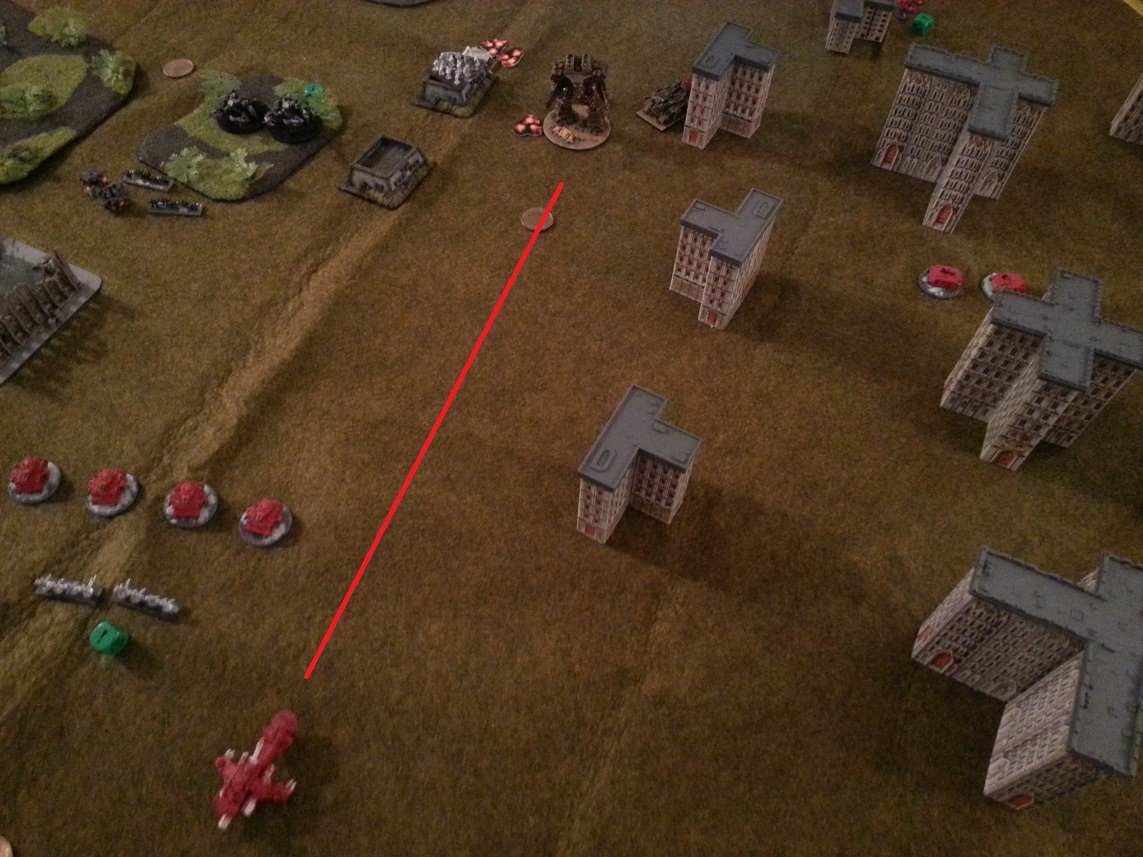
The Blood Angel right flank seems to be holding its own very well, so I send my Baal Predators over to the collapsing IW left flank to push forward and eventually encircle the Chaos Space Marines.

The Iron Warriors are out of activations, so the Blood Angels call a second Thunderhawk Assault on the already broken CSM Retinue, not only to finish it off, but also to establish position in the IW rear / flank. The Blood Angels win the assault and rout the Chaos Space Marines.

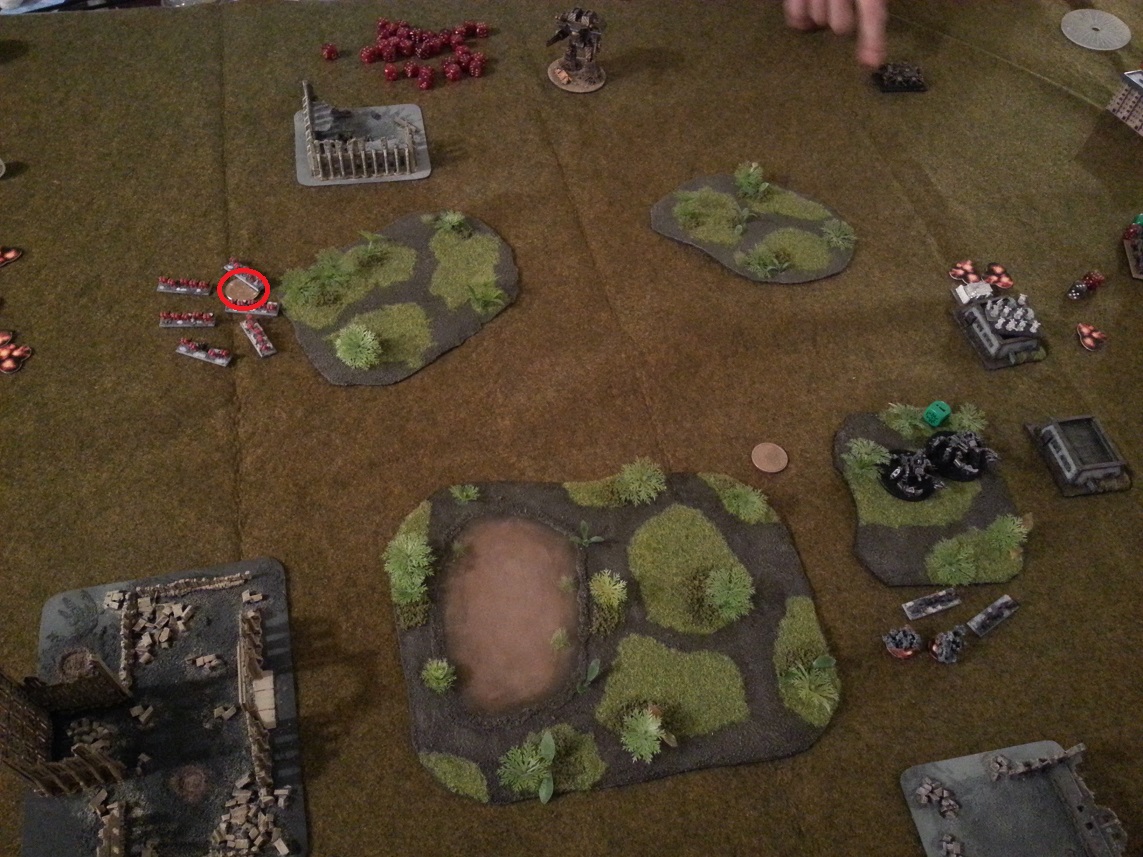
At the end of Turn 1, the Blood Angels have nearly managed to encircle the Iron Warriors. The Blood Angels hold two objectives, the Iron Warriors one.
TURN 2
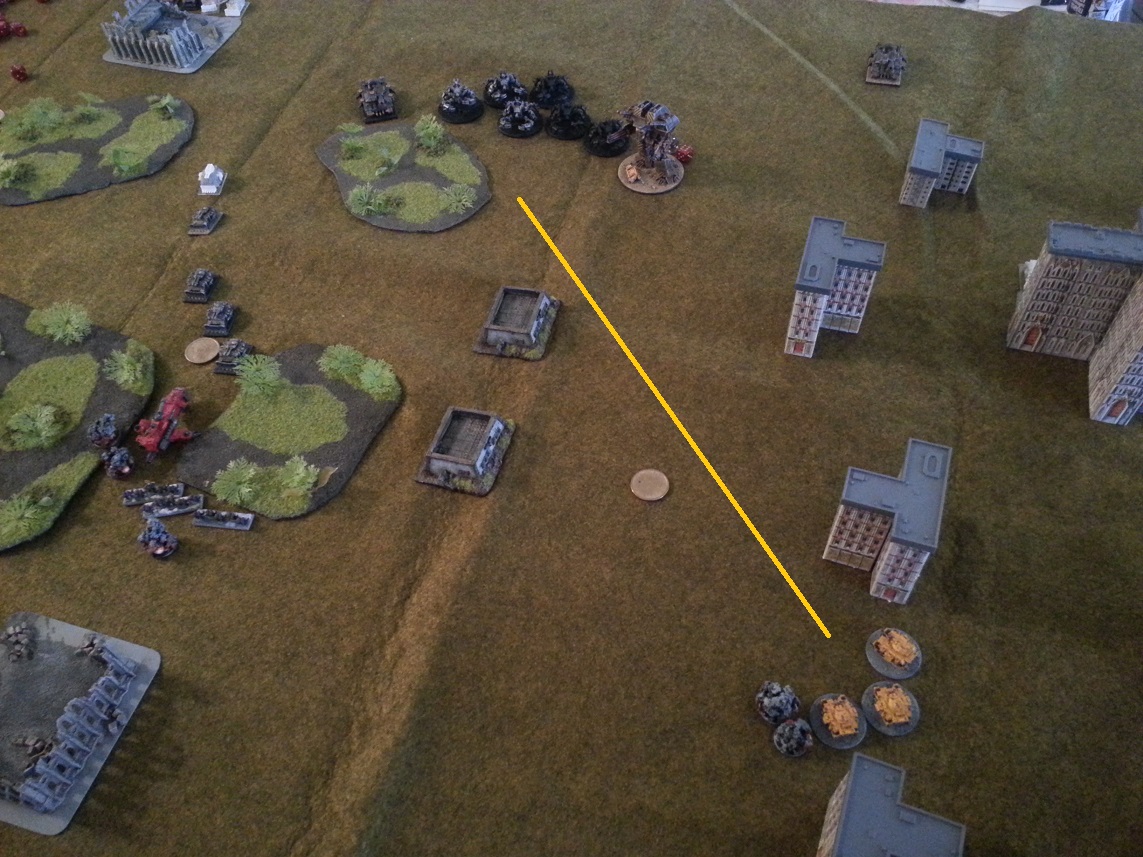
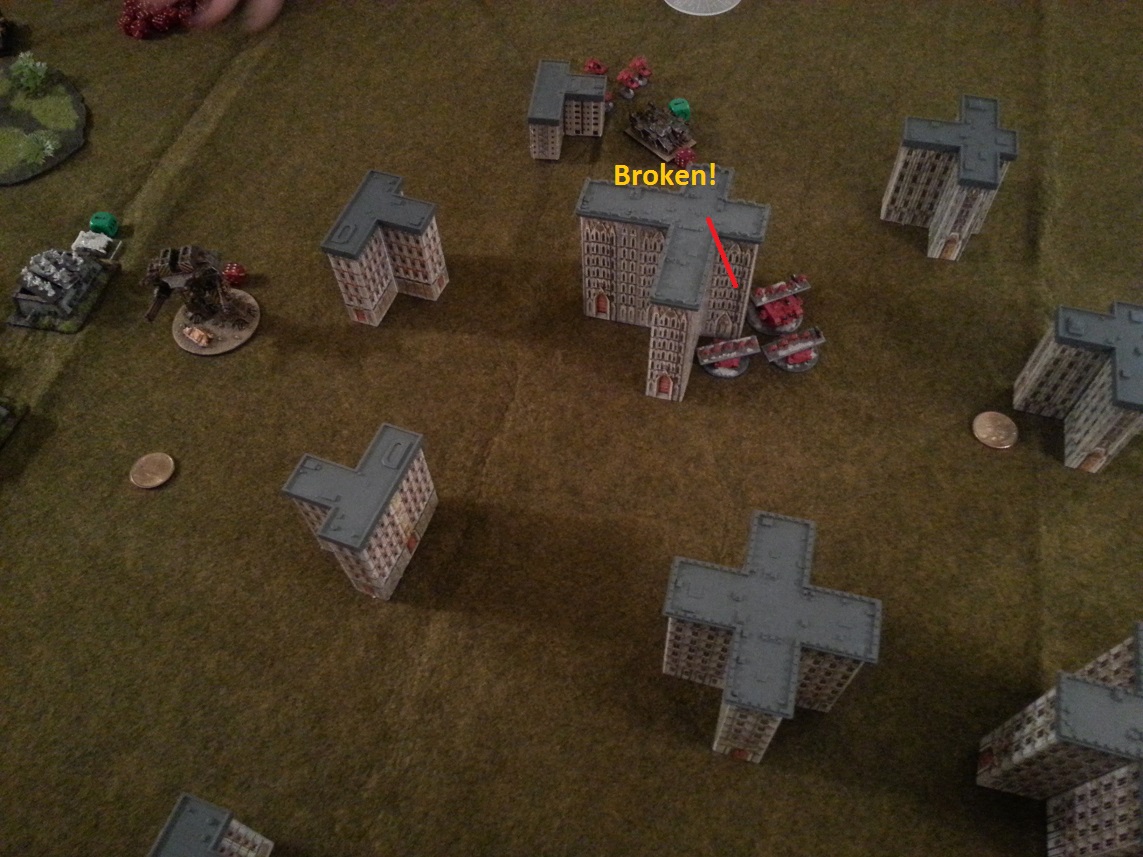
The Blood Angels win the roll to go first and take full advantage of it. First, the Predator Annihilators fire on and break the Defiler formation.
Then they retain the initiative and the Death Company makes a ballsy assault against the Predator formation in the center of the battlefield.
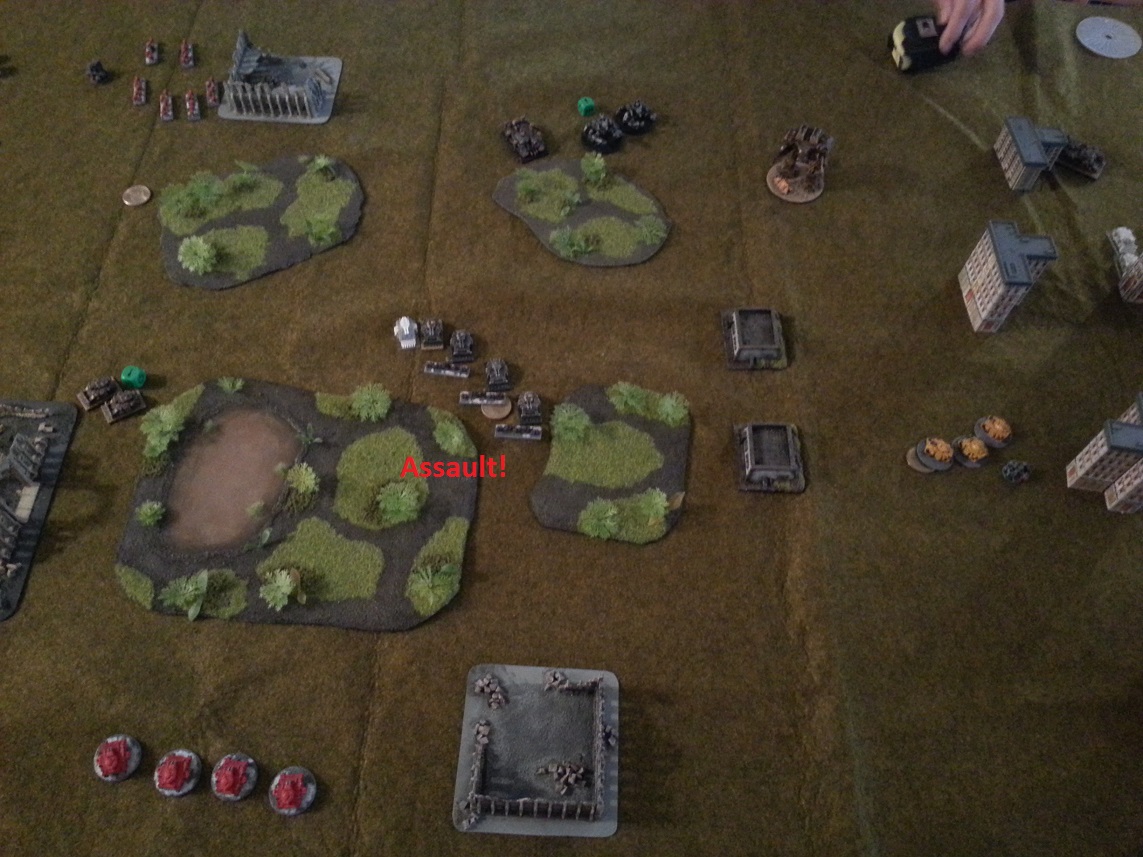
The Death Company wins the assault without taking any casualties and sends the Predator formation packing.

An Iron Warrior Decimator unloads on the Blood Angel Devastator formation and breaks it.

The Iron Warriors retain the initiative, and the Ravager Titan destroys the Predator Annihilators.

The Blood Angel Assault Marines on the left flank fall back out of range of a Decimator lurking nearby, but remain within marching range of the IW Blitz objective and one Take and Hold objective. Because one stand is within charge range of the Decimator, they actually need to overcome Frenzy to make this move. They fail, but then pass on the Supreme Commander re-roll.
The remaining Iron Warrior CSM Retinue doubles over and opens fire on the Death Company, but does no damage.
The Iron Warriors retain the initiative and a Decimator advances and kills one stand of Death Company.

Back on the right flank, Blood Angel Land Speeders advance and open fire on a Decimator, but fail to do damage. The blast marker would later prove important, however.
The Iron Warriors are out of activations, so the Blood Angels keep going. Both Thunderhawks fail their initiative checks to come in for ground attacks and stay in the box of shame.
The Baal Predators advance and let loose a withering hail of the Emperor’s Justice upon the IW Marine Retinue, destroying quite a few stands and breaking the formation.

The Tactical Squad advances and puts fire down on the Decimator, doing one point of damage and breaking it.
The End of Turn 2 is not looking so good for the Iron Warriors. Only two units are unbroken heading into the rally phase. Meanwhile, most remaining Blood Angel formations are at or near full strength.

TURN 3
Before the turn begins, the Iron Warriors teleport the Terminators that they had forgotten about in Turn 2.

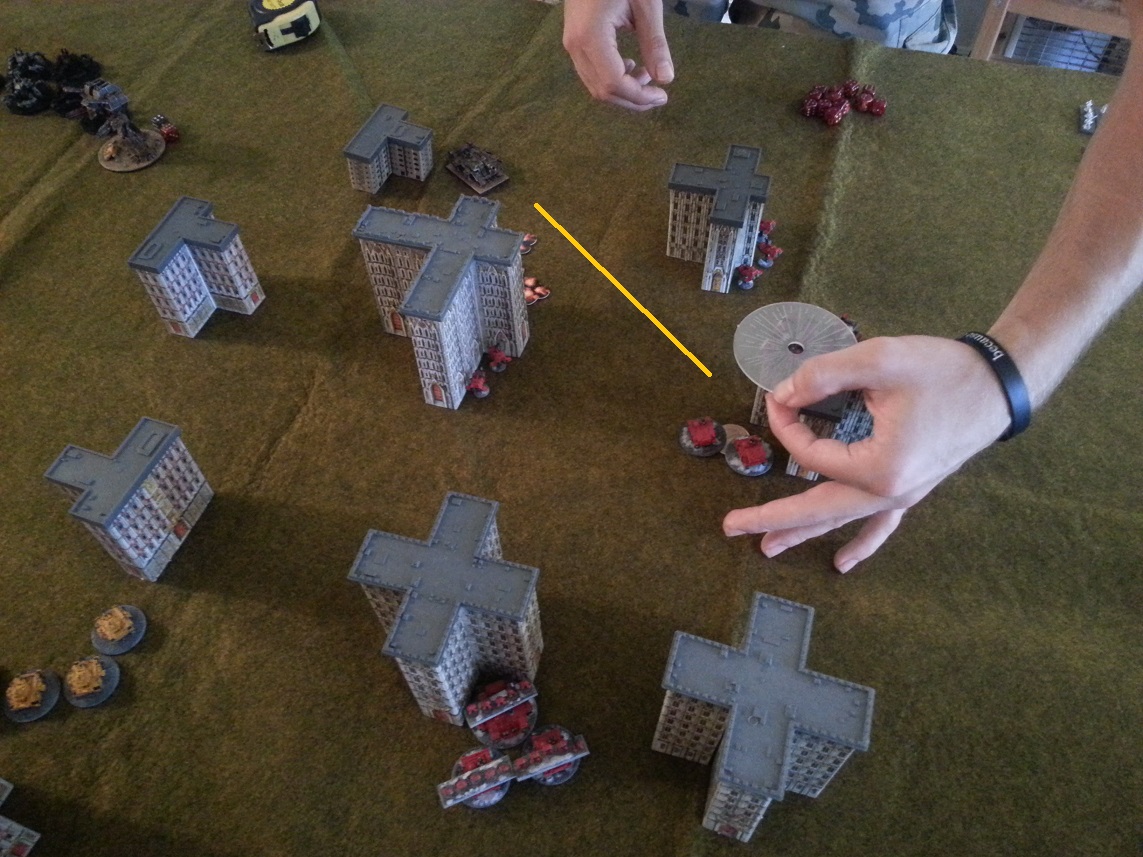
But, the Blood Angels manage to win the initiative roll again, for the third straight turn. The broken Blood Angel Devastator formation, which managed to rally, fires on the also freshly rallied Defiler formation, instantly breaking it again.
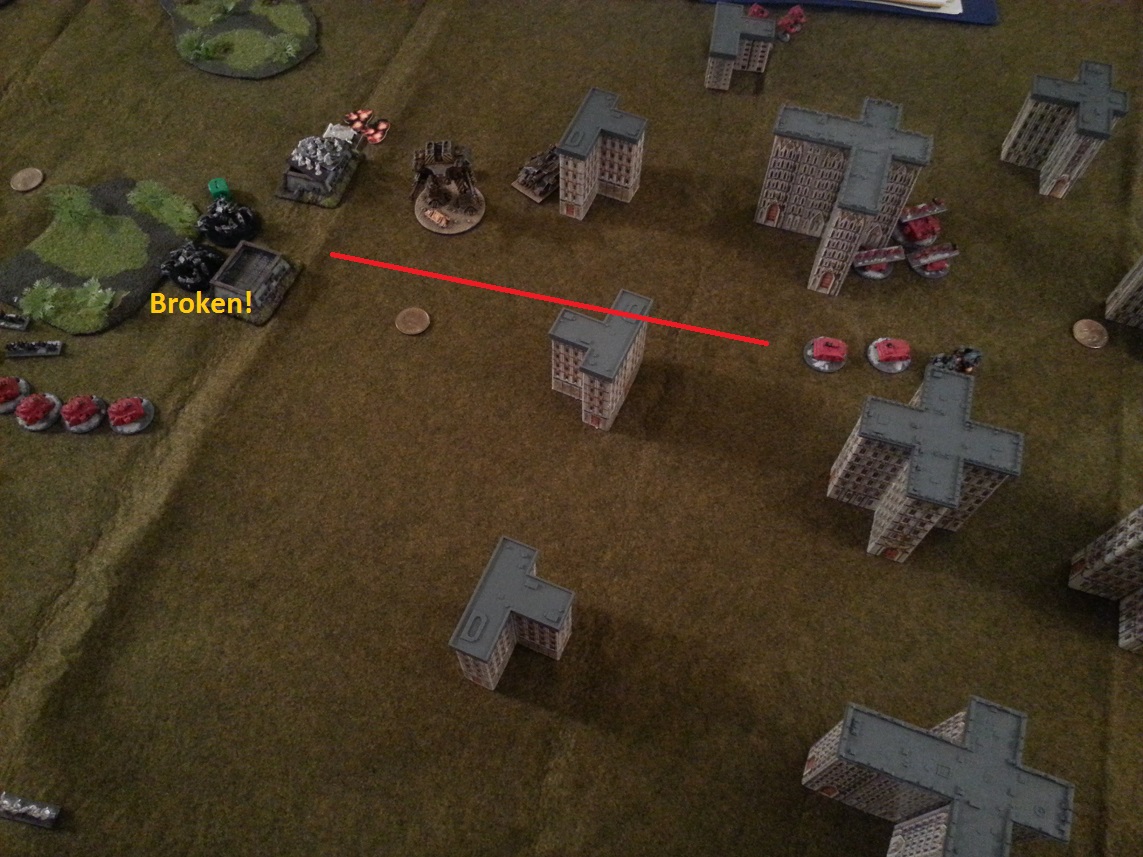
The Blood Angels retain the initiative and send the Baal Predators to welcome the Chaos Terminators. They destroy two stands and break the formation.

The Iron Warriors respond by breaking the Blood Angel Land Speeder formation with a Decimator. The war is on to break and destroy objective grabbers.

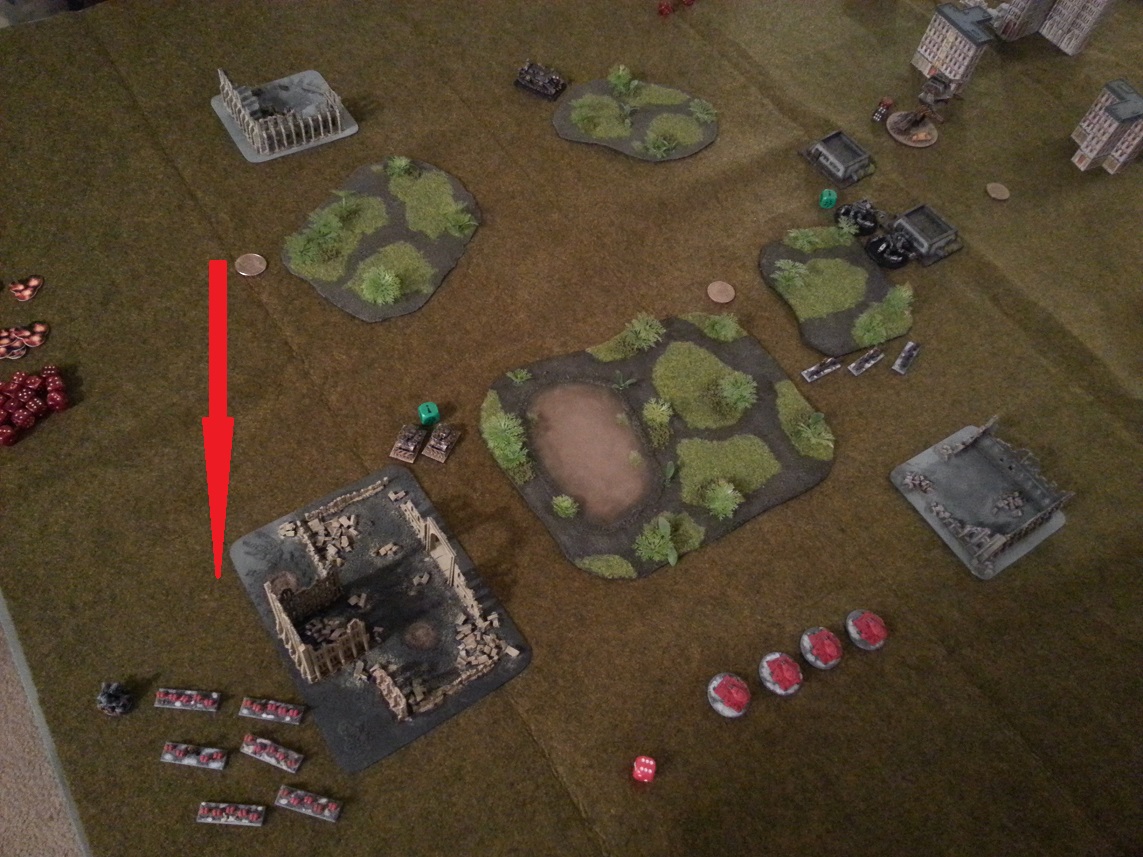
The Tacticals consolidate their control of an IW take and hold objective, falling back to a position safe from the Ravager titan.

The CSM Retinue sustain fires on the Death Company, but does no damage.
A Blood Angel Thunderhawk lays down a blast marker on the IW Ravager, hoping to make his activation more difficult.
The Ravager lumbers over to protect the Blitz objective.

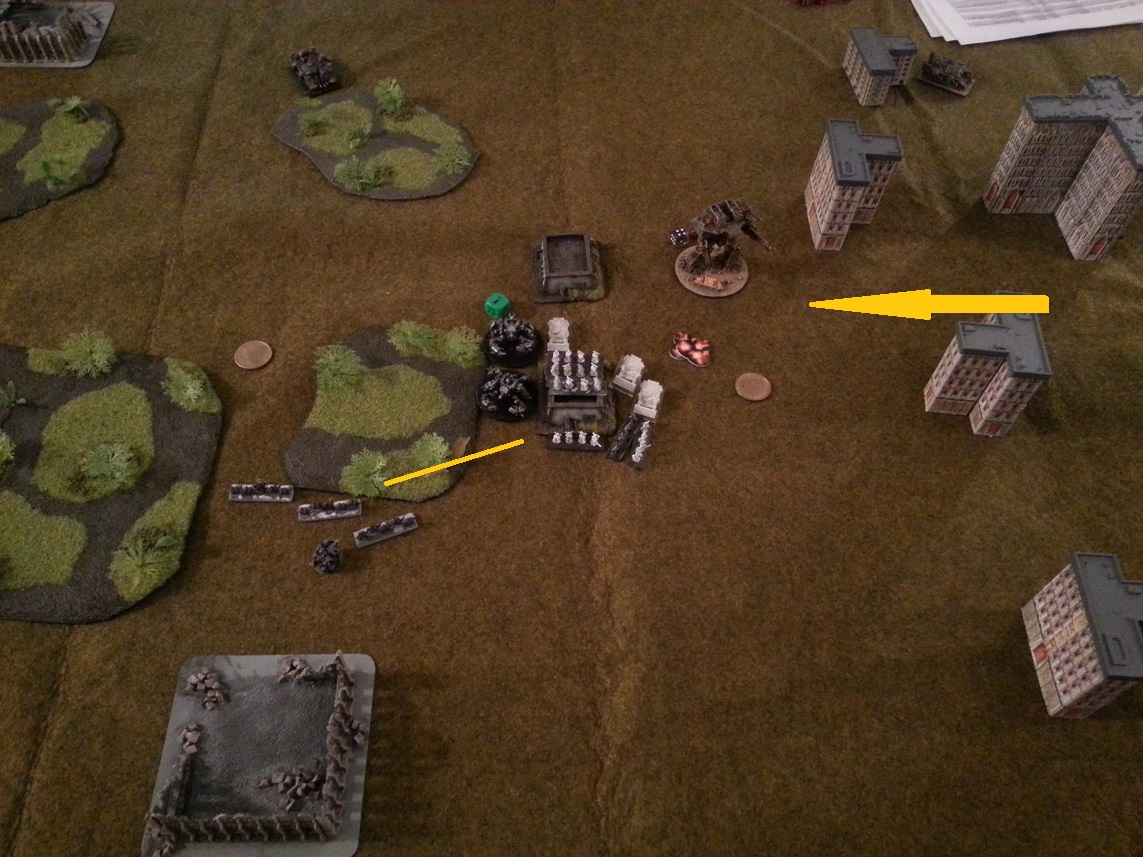
But that’s check mate. The Blood Angel assault formation captures the second take and hold objective, and with no activations left, there are no unbroken Iron Warrior formations on the Blood Angel half of the table. The Blood Angels win on Take and Hold and They Shall Not Pass victory conditions.
Game End

Post Game Breakdown
After getting tabled by Volrath running this exact same list in our last engagement, this solid Blood Angel victory was refreshing and encouraging. The Predator Annihilators were able to break two Iron Warrior armored formations, and probably caused Volrath to overreact in his efforts to destroy them. For the first time I was able to destroy armor without having to assault, and it adds a tactical dimension to the army and really makes them feel competitive. I definitely think this was a step in the right direction and I am very happy with the change.
Yes, this was a resounding Blood Angel victory, however, before we start thinking that the list is too powerful now, let’s look at things a little more closely. First, I think I played a pretty solid game, while Volrath played a real stinker. Numerous times he retained the initiative when it wasn’t really necessary, and often to attack formations of mine that had already acted – they weren’t going anywhere. Leaving his retinue exposed and unsupported like that in Turn 1 was a gift to me. He forgot to bring his Terminators in at the top of Turn 2. His target selection was not optimal throughout the course of the game. And in the third turn, had he moved his surviving retinue into my table half or moved to contest a Take and Hold objective, he could have forced a turn 4, and hopefully some of his units could have rallied. Volrath is usually a very good player, but tonight he was off.
I also had pretty good luck this game, particularly in winning the initiative roll all three turns. That was extremely helpful in dictating the pace of the match. As of right now, I am happy with where the Blood Angel list is. It’s my opinion that the Iron Warriors list is quite powerful (indeed, Volrath has a winning record in our league), and now I think the Blood Angel list may be able to hold its own with the toughest lists out there. All that seems to be left now is to playtest the Sanguinary Guard, and hopefully we can make the push for final approval.


